- Log in to your account.
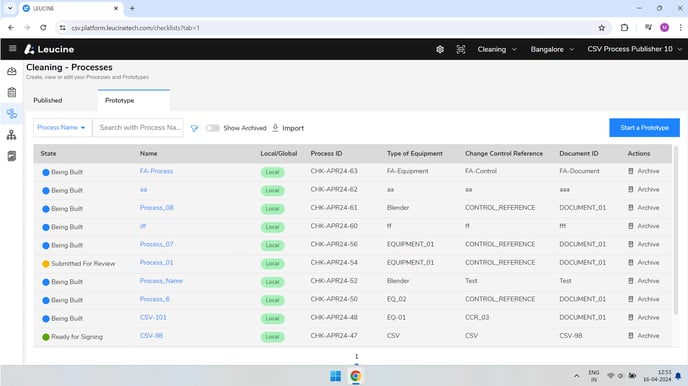
- Open the prototype you are working on.
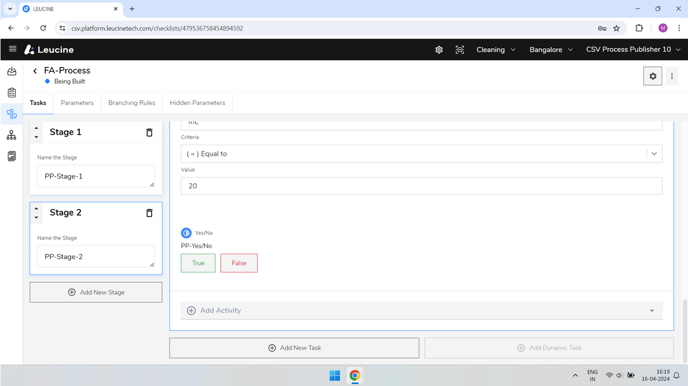
- Navigate to the task within your prototype where you want to add the parameter.

- Click on the 'Add Activity' button.
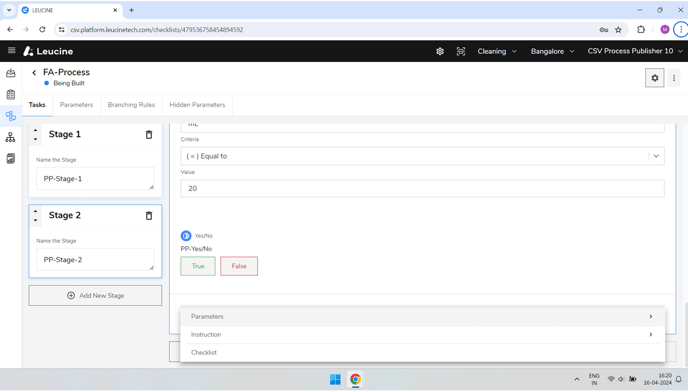
- Select the 'Parameters' button.
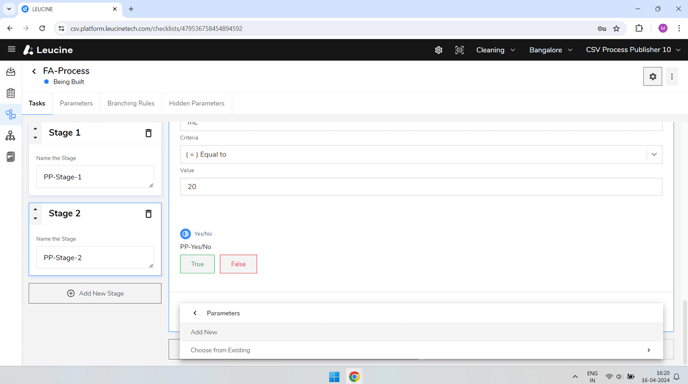
- Click on 'Add New' to create a new parameter.
- Enter a Label for your new parameter and provide a description (optional).
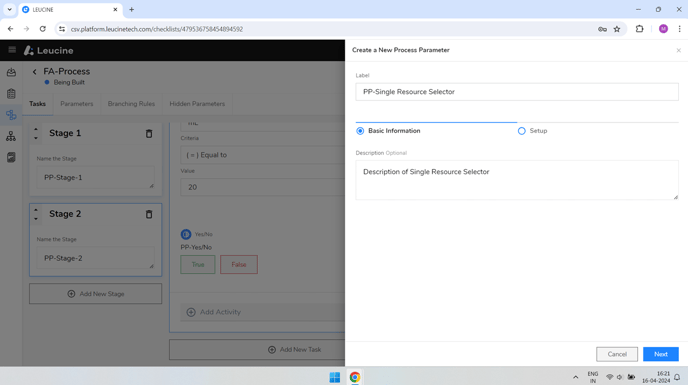
- Click on the next button.
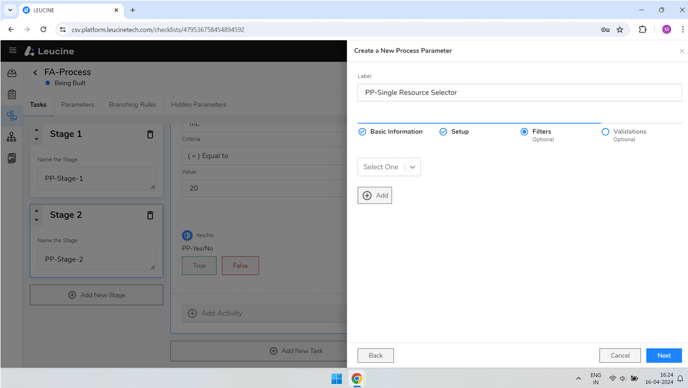
- Choose 'Single resource selector' from the Parameter type dropdown menu.

- Select the Object type from the list provided.
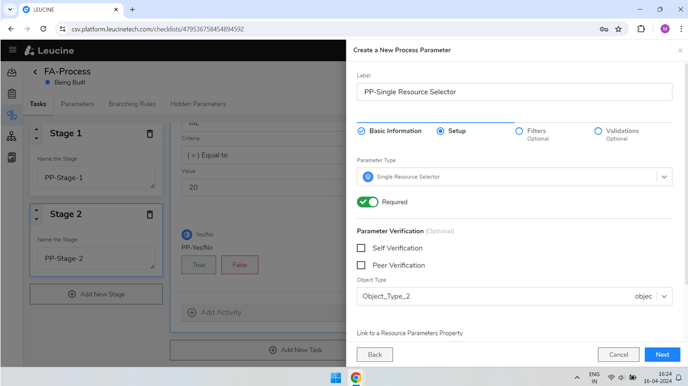
- Click on the next button.
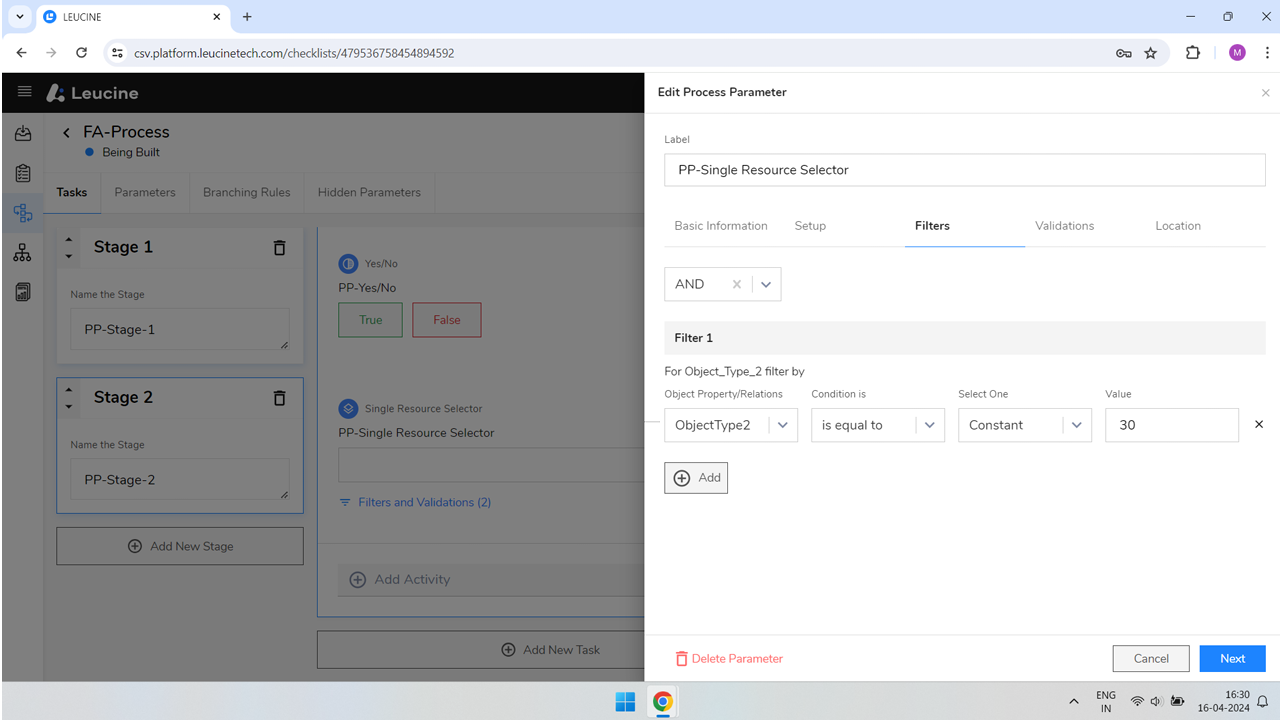
- In the filters tab, click on 'And' to set your filter. Specify values for all the fields required to configure your filter.
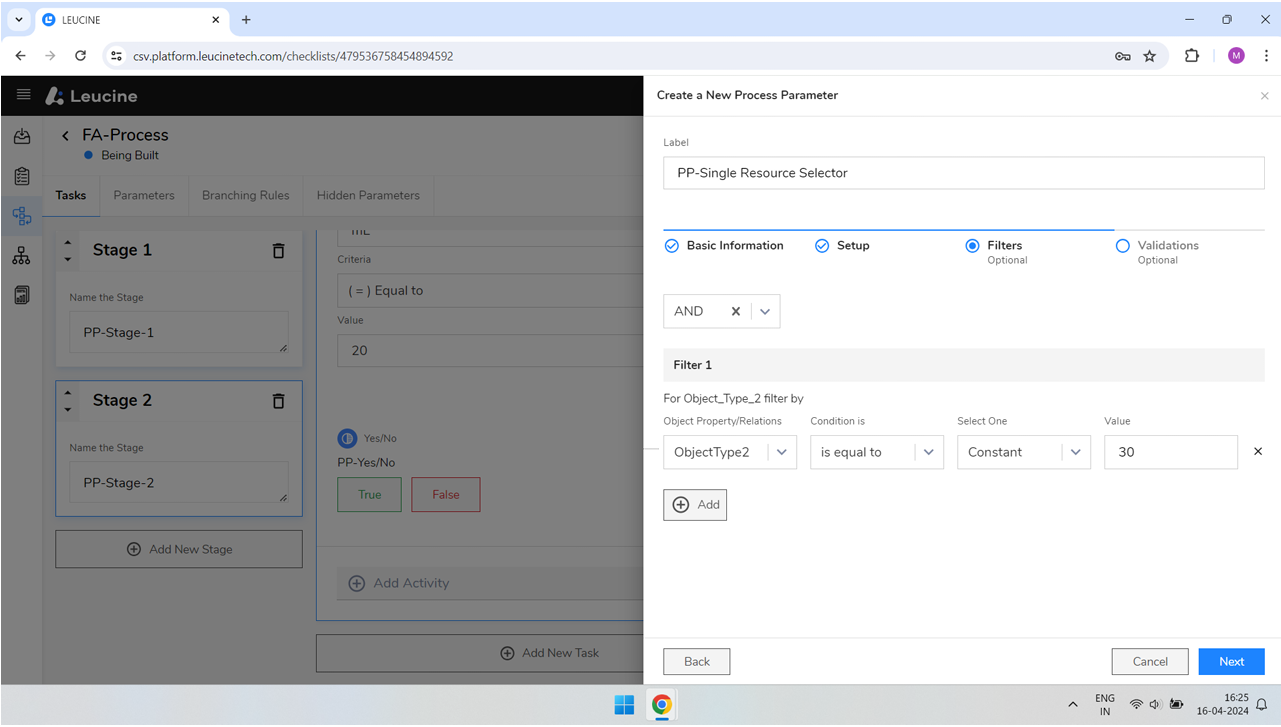
- Click on the next button.
- Enter the necessary values for all fields to set up validations.
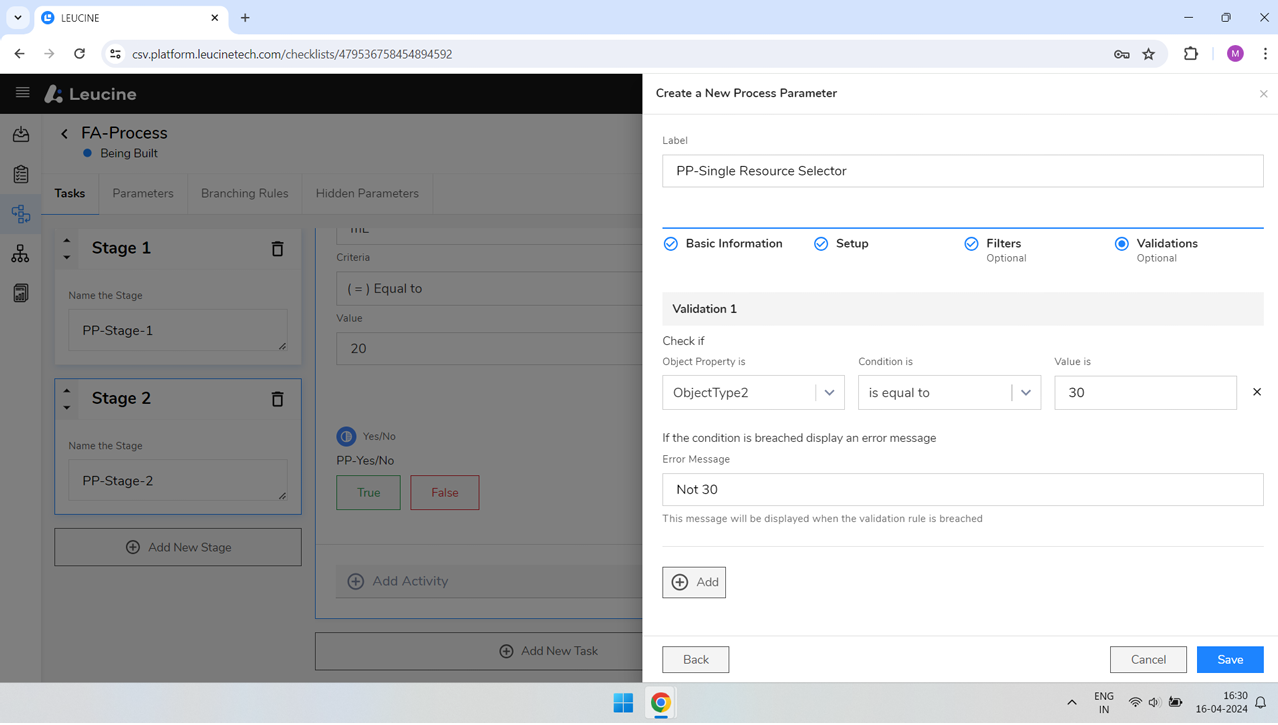
- Click on next and then on the save button to finalize the creation of your parameter.
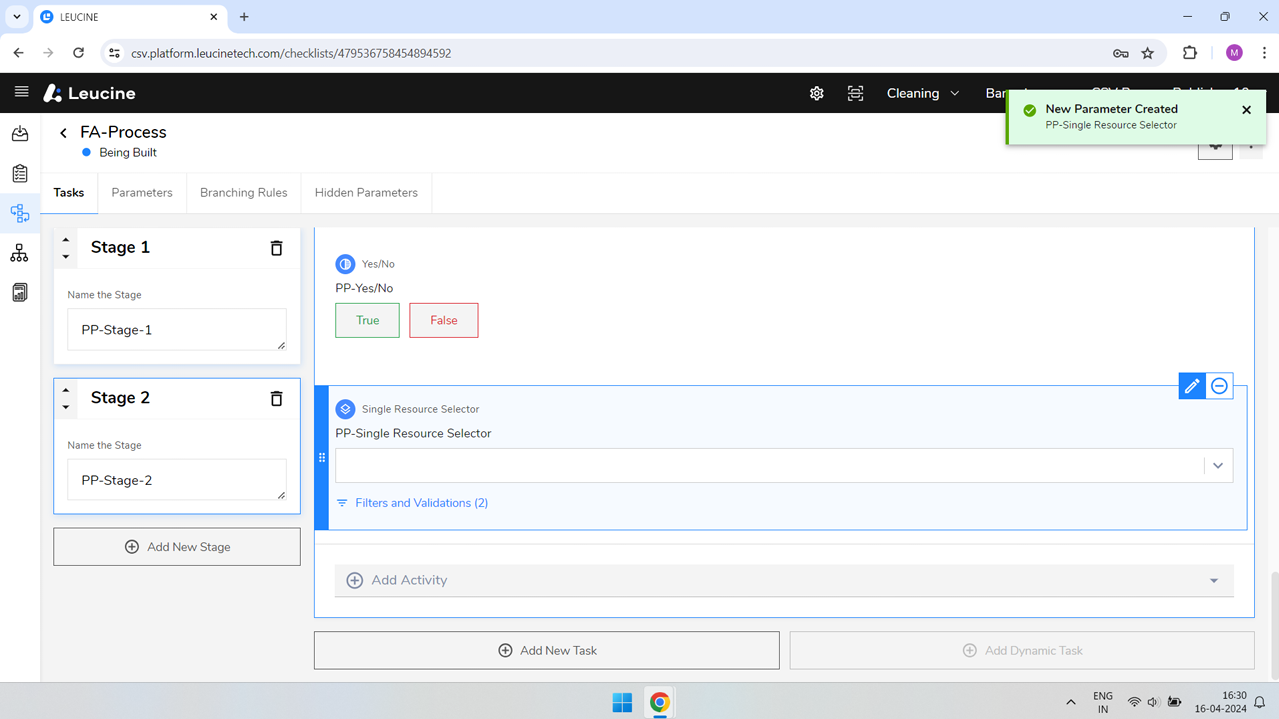
- To edit your parameter, hover over it and click on the edit icon.

- Navigate to filters to review or edit your filter settings.
- Navigate to validations to review or edit your validation settings.
